How To Groom Your Dog At Home
From nail trimming to shaving down a coat, learn all the steps necessary to successfully groom your dog at home.
This article is more than 2 years old
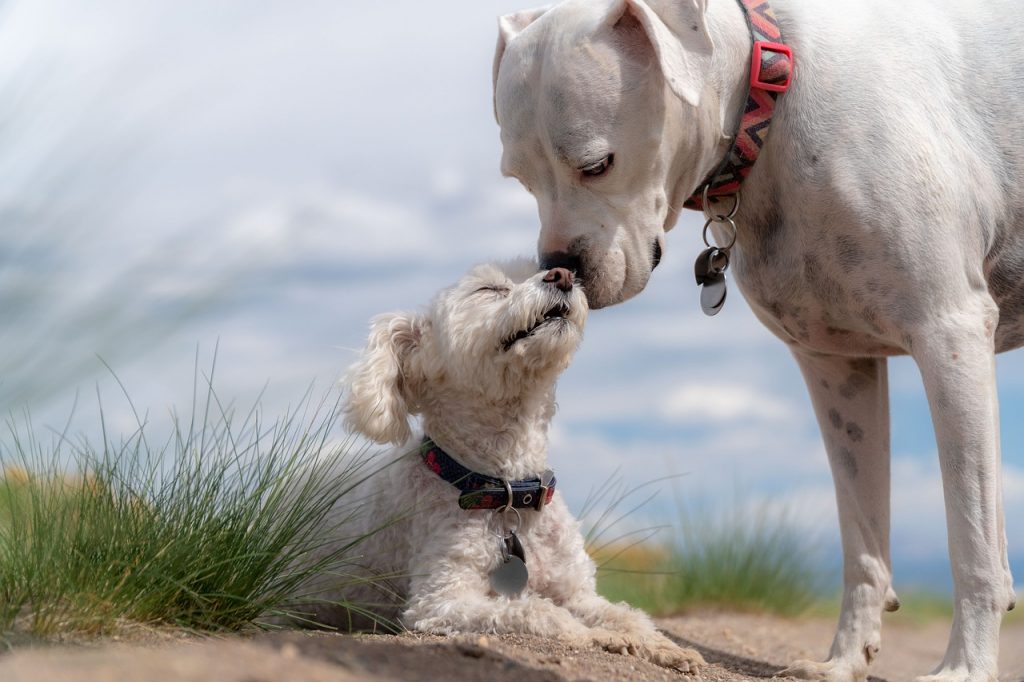
Investing the time into learning how to properly groom your dog at home is an exceedingly worthwhile endeavor. It can help keep your pet looking their best between grooming visits or even replace the need to visit a professional groomer entirely. In the long run, those savings can really add up, especially if you have a long-haired or double-coated dog who requires regular grooming and coat maintenance. Learning how to groom your dog at home can also prove to be a wonderful bonding experience for you and your fur baby and can deepen the level of trust between you and your pup.
Note: The following knowledge regarding how to groom your dog at home comes from Kristi’s decade’s worth of professional grooming experience.
CONSIDERATIONS BEFORE YOU BEGIN
Before you attempt to learn how to groom your dog you should first take the time to learn about your dog’s individual coat needs. There are three main coat types – long coats, short coats, and double coats. Dogs with short coats require the least maintenance. Brushing and bathing dogs with short hair regularly is enough to keep their coat healthy and thriving. Some examples of dogs with short coats include Bulldogs, Beagles, Rhodesian Ridgebacks, Great Danes, and Mastiffs (just to name a few).
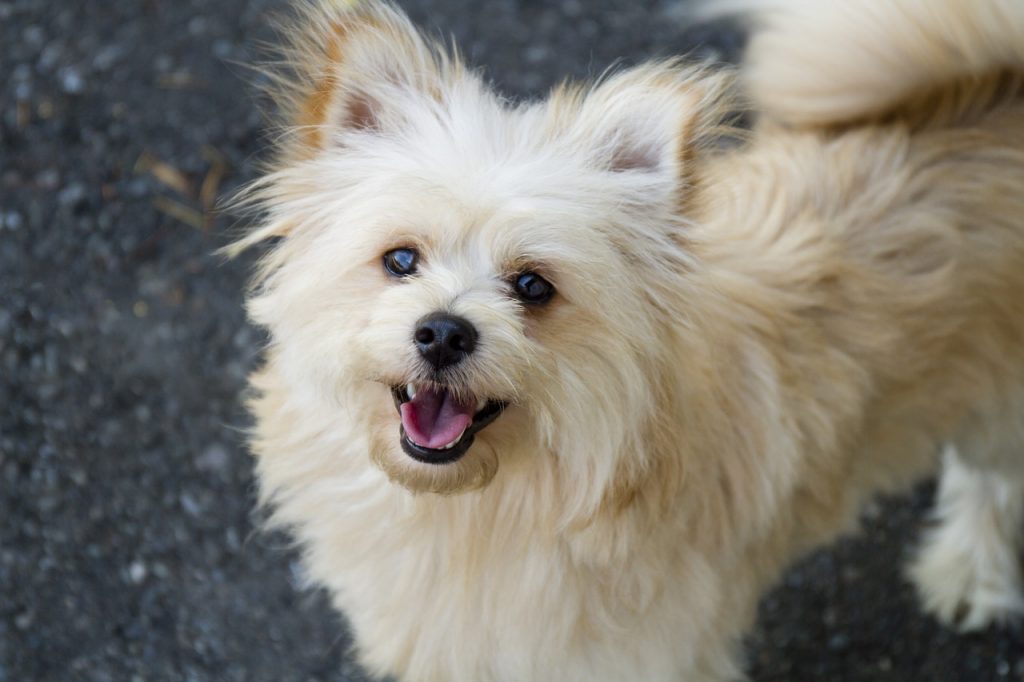
In contrast to short-haired dogs, dogs who have long hair require much more care to keep their coats healthy. Depending on how long you want to keep your long-haired dog’s coat, they may require a haircut every four to eight weeks and need to be brushed on a daily or weekly basis. Some examples of some long-haired breeds include Shih Tzus, Yorkshire Terriers, Malteses, Poodles, Lhasa Apsos, Labradoodles, and Goldendoodles.
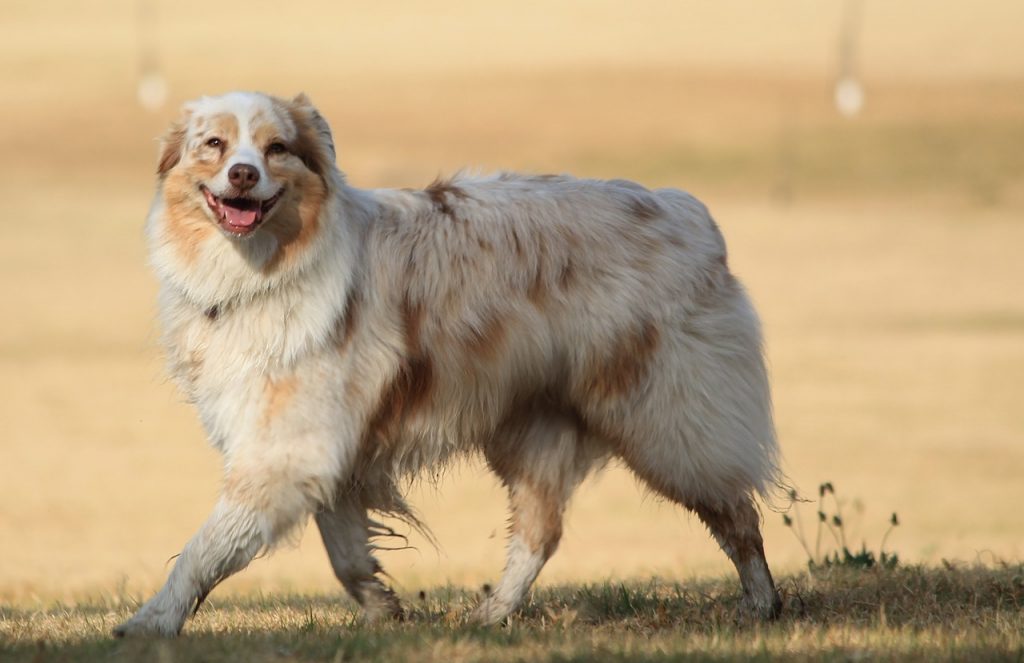
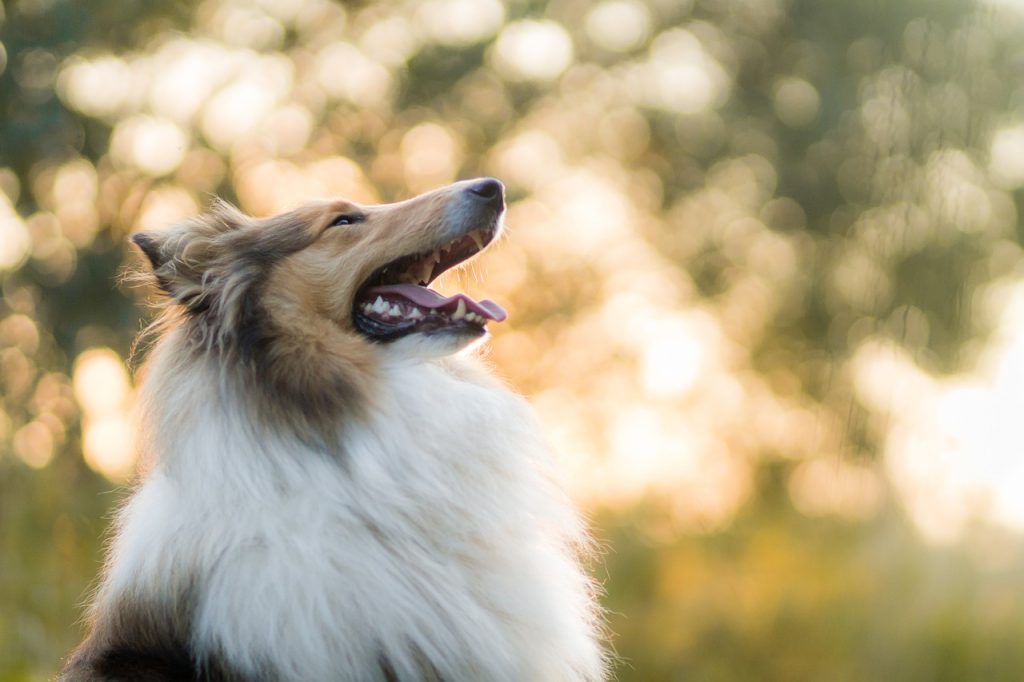
Lastly, double-coated dogs will always need to be brushed regularly (most breeds should be brushed every other day) and bathed every four to six weeks. And if they are a double-coated dog whose top coat is on the longer side, they will require a trim up every six to eight weeks. Some examples of double-coated breeds are Collies, Shetland Sheepdogs, Siberian Huskies, German Shepherds, Alaskan Malamutes, Australian Shepherds, Shiba Inus, Golden Retrievers, and Labrador Retrievers. Double-coated breeds can have long or short hair. Overall, it is highly important to understand your canine’s specific grooming needs when learning how to groom your dog so that you can properly care for their coat.
Note: You should never ever shave a dog who has a double coat. They use their double coats to regulate their body temperature. Also shaving a dog with a double coat causes the coat’s texture to change and you also run the risk that all or parts of the coat may never grow back.
TERMS TO KNOW
Below is some necessary grooming jargon you should be aware of before reading ahead to learn how to groom your dog.
Occiput– This is the location on the back of your dog’s head where the neck meets the base of the skull. This is the point from which you would begin to shave a long-haired dog’s coat.
Hock– This is a sensitive spot on a dog’s back legs. It is a thin layer of skin tissue that exists between the middle and back parts of your dog’s ankles. When shaving a dog it is important to be keenly aware of where the hock is located so that you don’t sever the fragile tissue there.
Sanitary – In grooming the term sanitary refers to any part of your dog’s genitalia or anal region. When grooming, it is important to make sure that these areas are cleaned well (shaved if necessary) and free of any fecal and urine matter.
Mats – These are very tight knots that can easily occur on dogs with longer hair if their owners have failed to maintain proper upkeep with their dog’s coat. Depending on the severity, these knots most often need to be shaved out (trying to brush out a tight mat could rip, tear, or cut your dog’s skin). If the matting is particularly severe they might leave hematomas after removal. A hematoma is a bruise caused by the blood rushing back to the area where the mat was cutting off circulation to the skin. Note: If mats are very tight you should NOT attempt to remove the matting yourself. This is a case that requires a professional groomer’s expertise.
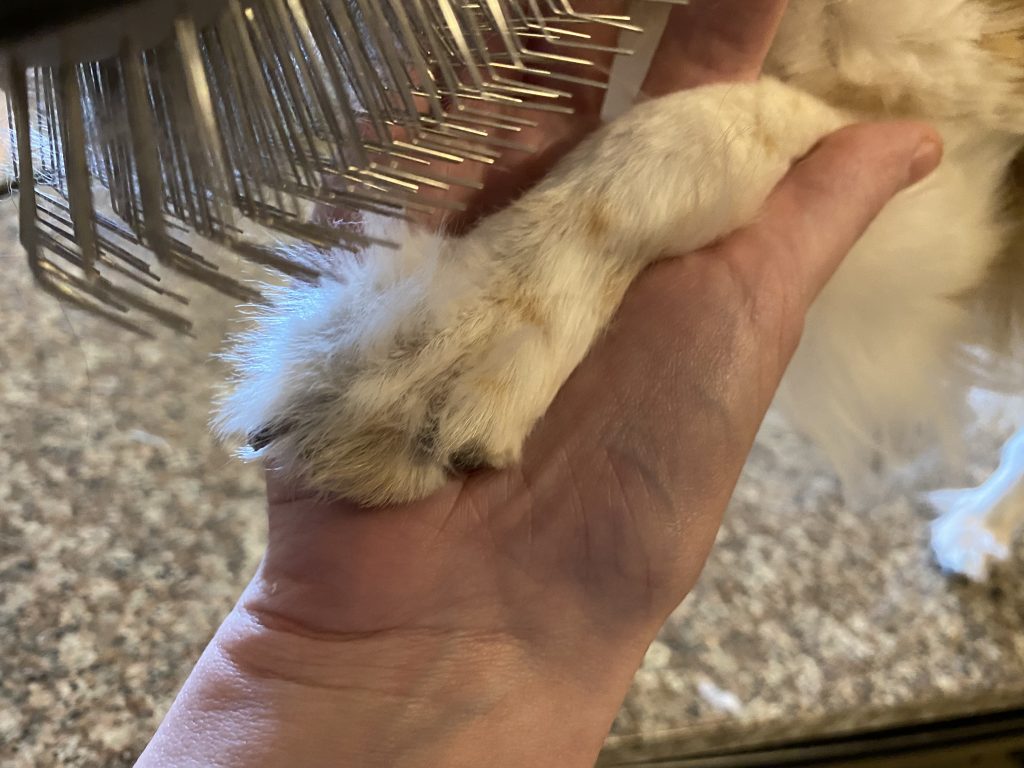
Dewclaws – This is the proper term for what many refer to as their dog’s thumb nails. Dewclaws can also be present on the back legs in some breeds. However, not all dogs have dewclaws. If you have a long-haired dog it is important to check for dewclaws before shaving and remain aware of them while cutting your dog’s hair because the clipper can easily cut or tear the dewclaw from your dog’s leg (especially if they are hanging or loosely attached dewclaws), at which point, veterinary attention will be necessary.
Kwik – This is the vein inside of your dog’s nail.
SUPPLIES YOU’LL NEED
Below is a list of supplies you’ll need when learning how to groom your dog. Some supplies will only be necessary if you have a long-haired or double-coated breed. It is important to note that all of your supplies should be within arm’s reach while grooming your dog. If you are grooming your dog on an elevated surface (you should be) you should never leave your dog unattended.
- Dog nail clippers
- Pet Dremel (optional)
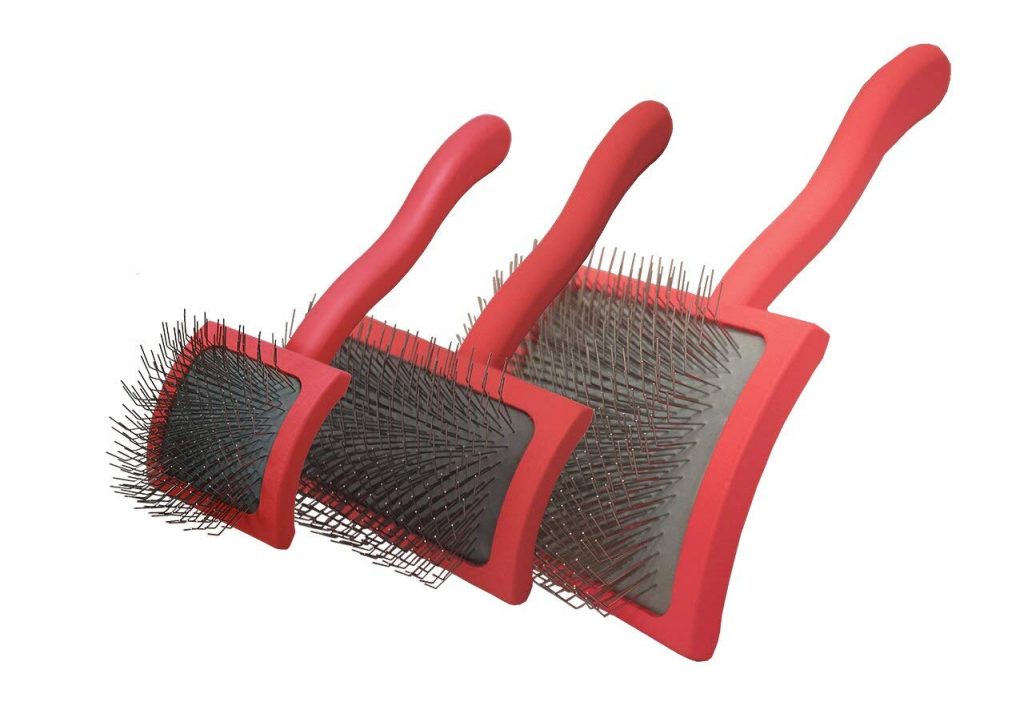
- Slicker brush (double-coated and long-haired dogs)
- Comb
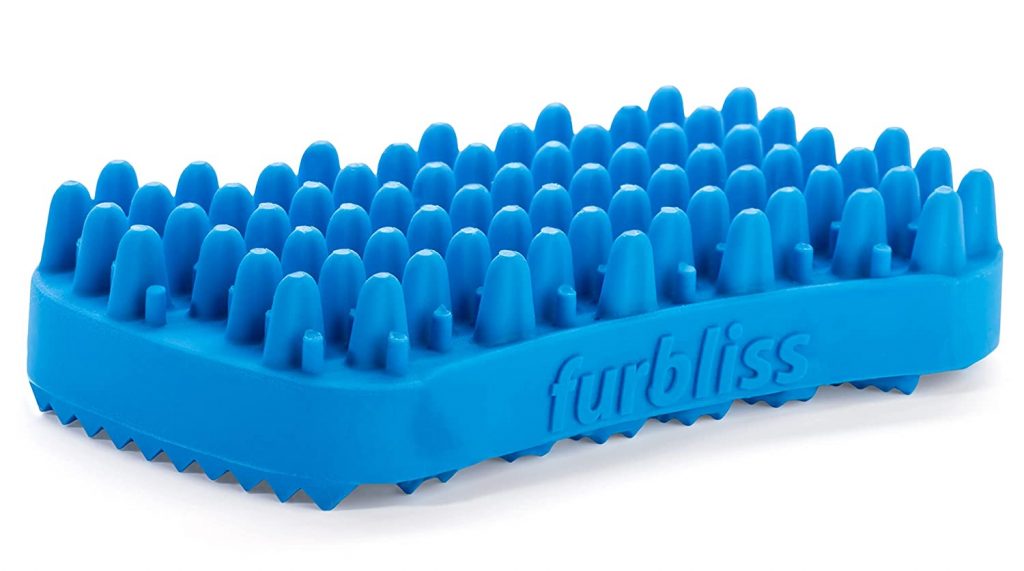
- Curry brush (short-haired dogs)
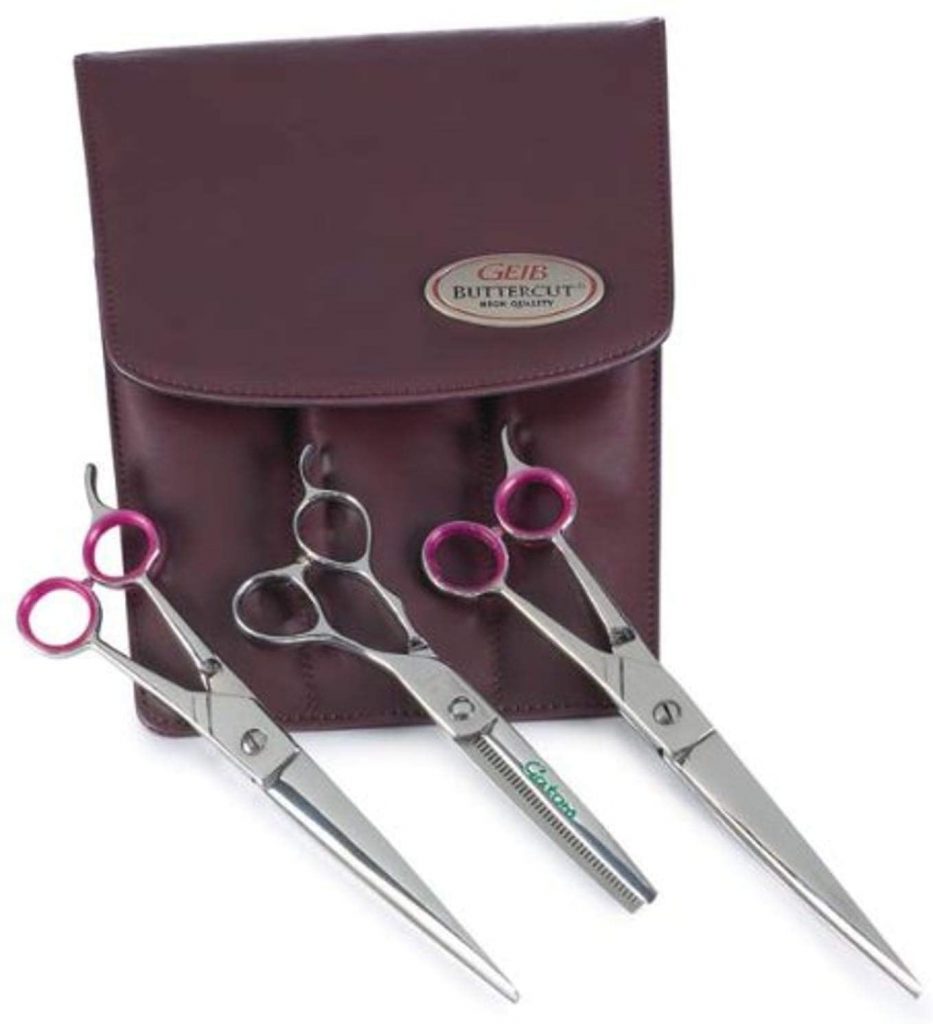
- Grooming Shears (double-coated and long-haired dogs)
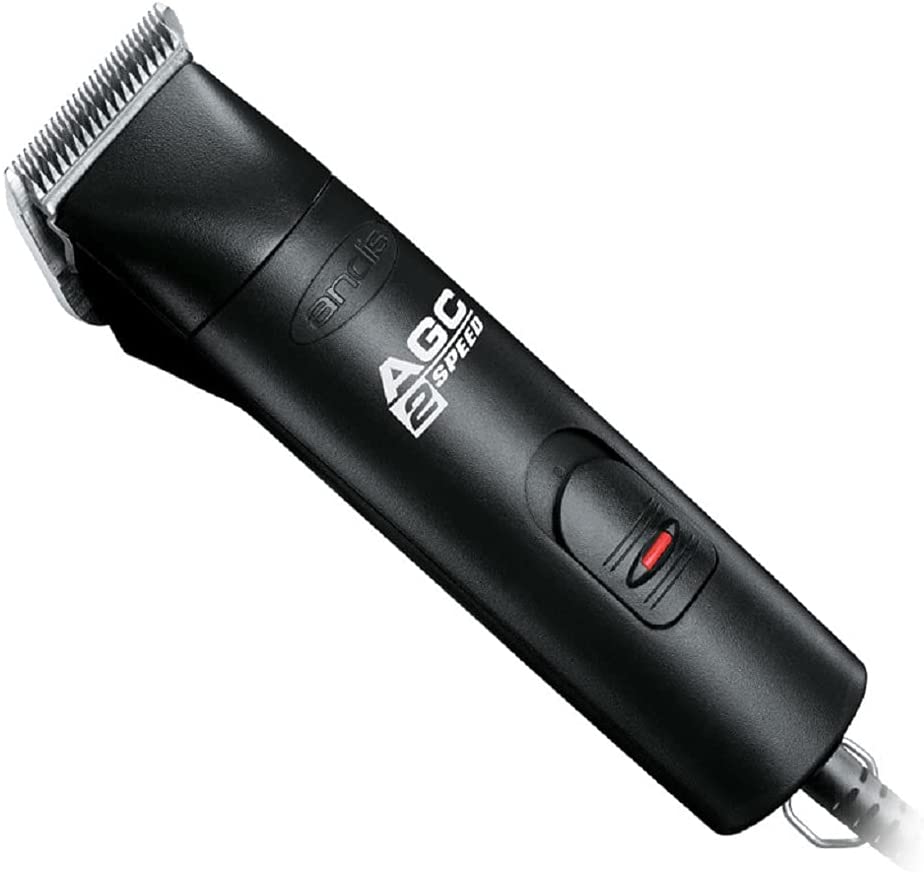
- Electric Clipper (double-coated and long-haired dogs)
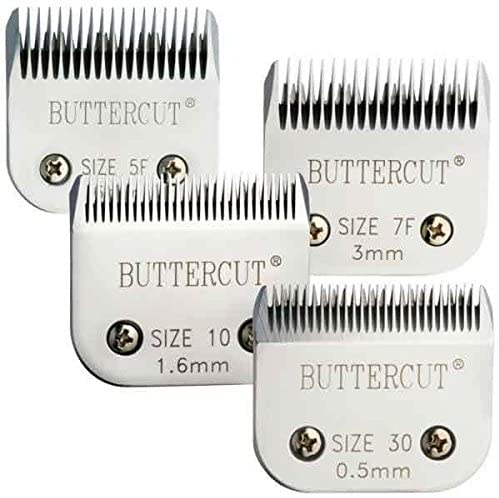
- Blades (double-coated and long-haired dogs)
- Attachment combs (double-coated and long-haired dogs) (optional)
- Dog Shampoo (Dawn dish soap is also safe to use)
- Dog Conditioner (optional)
- Velocity dryer or hairdryer with cool setting (Never use a heated dryer on a dog)
- Towels
- Grooming table or elevated surface
- An extra person to lend a hand if your dog is fidgety or if you are not using a grooming table with a grooming loop
- Ear cleaning solution
- Cotton balls
- Q-tips (optional)
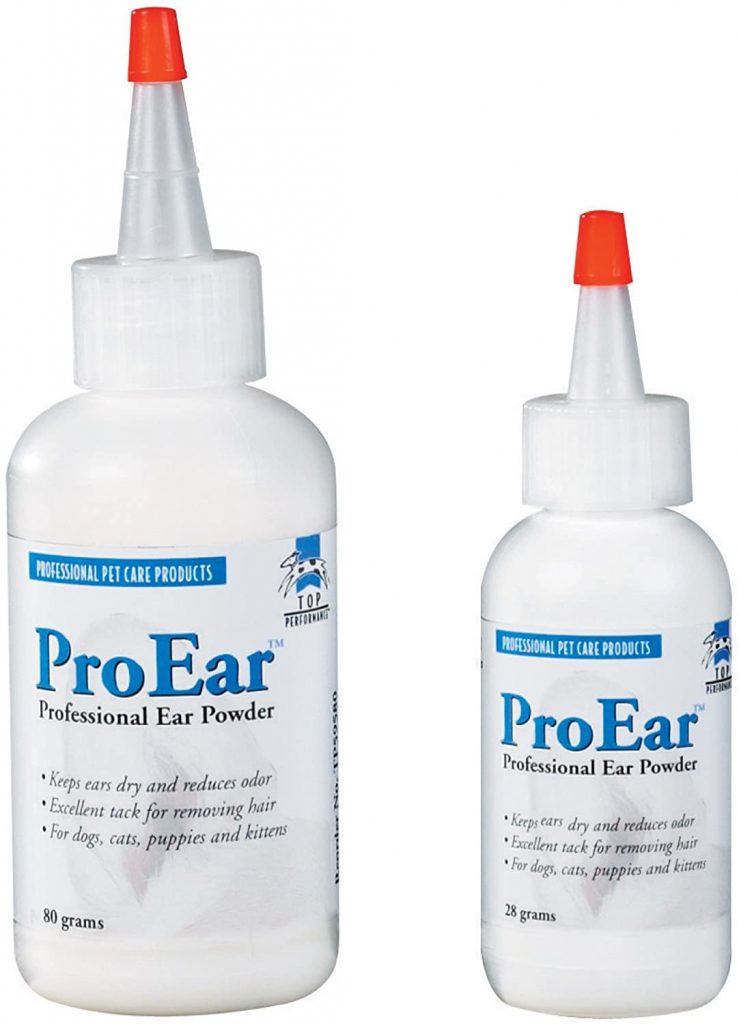
- Ear plucking powder
- Kwik Stop (or flour)
- Kool Lube for blades
- Blade cleaner
STEP ONE: PREPARE
Identify your dog’s coat type. Gather all of your necessary supplies. Then, set up your work area.
STEP TWO: NAIL CLIPPING
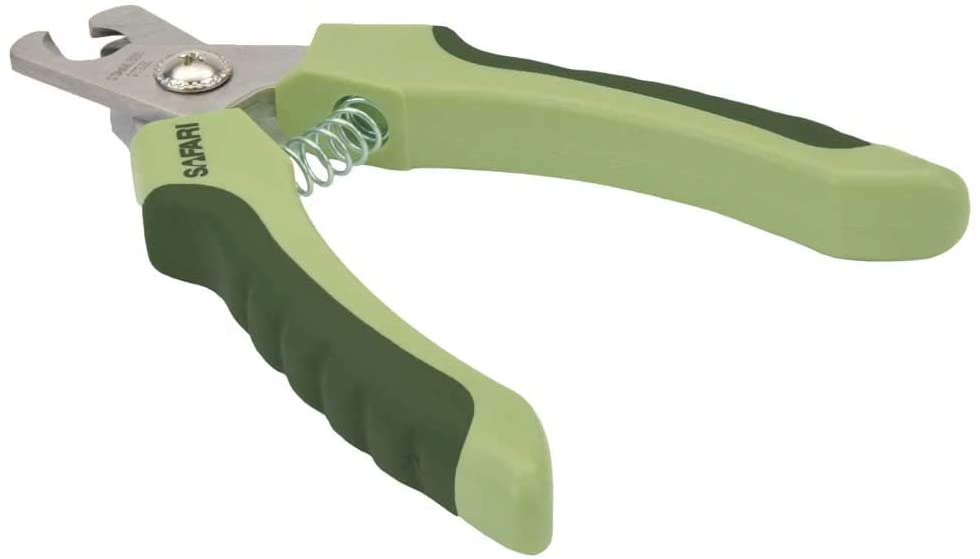
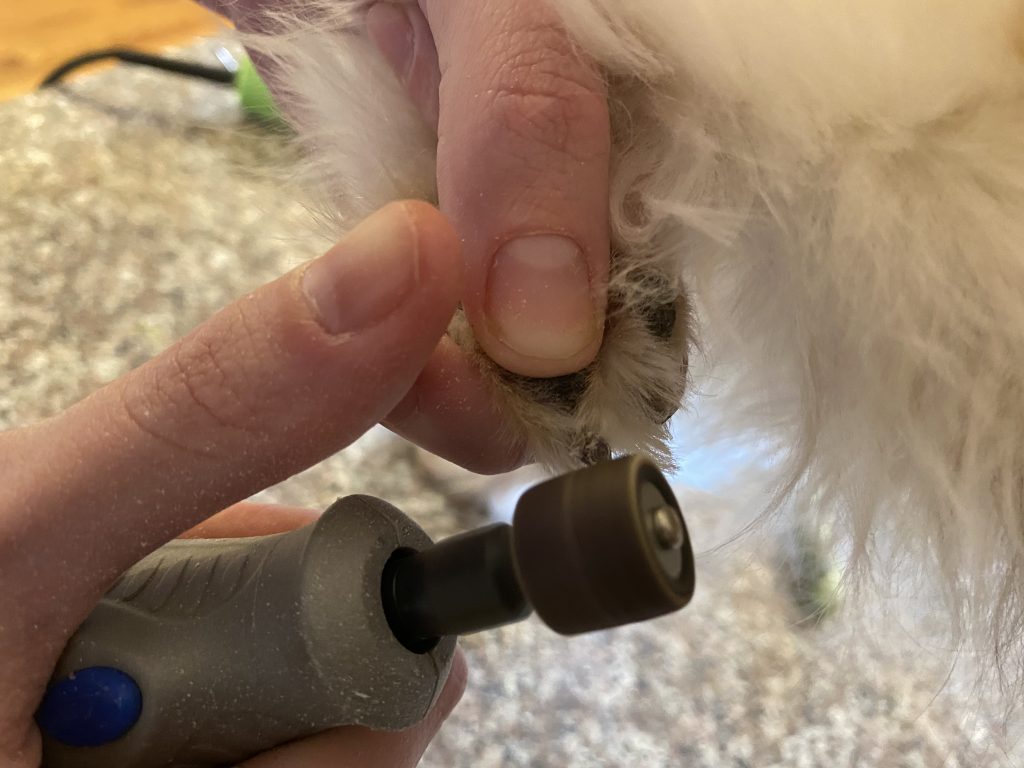
You can begin the grooming process by clipping your dog’s nails. You’ll need your nail clippers, Pet Dremel (if using), and Kwik Stop (or flour). You’ll notice that your dog will either have white nails, black nails, or a combination of both. If your dog has white nails then before clipping each nail you should be able to easily see the pink vein (kwik) inside the nail. When clipping it is important to cut just above this vein.
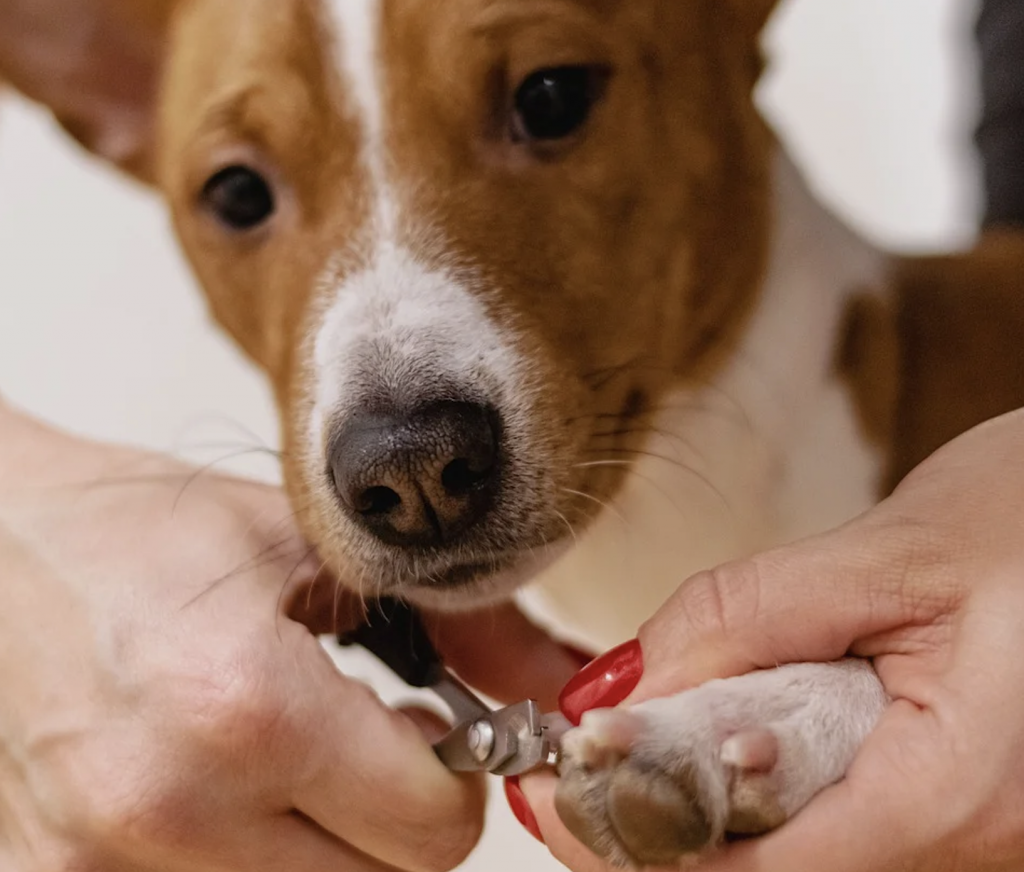
If your dog has black nails it is a little more difficult to determine the location of the kwik. If this is the case you should clip little by little beginning with the tip of the nail until your notice a block dewy spot in the center of the nail. That black spot is your dog’s kwik. Once you see that spot do not continue clipping the nail.
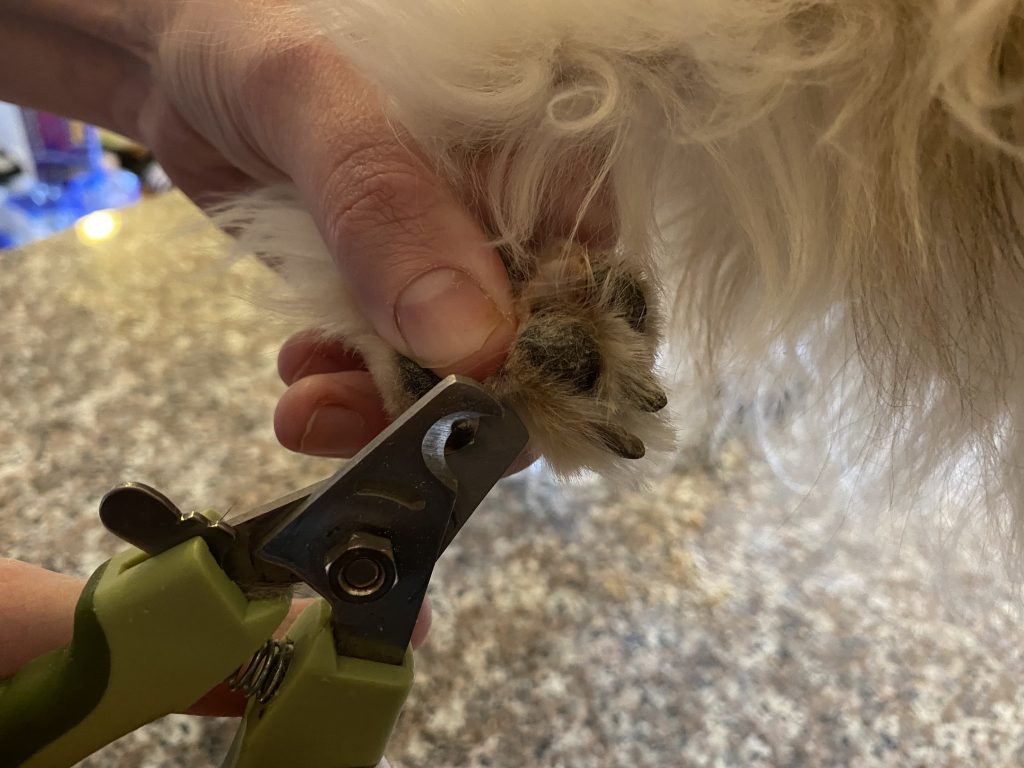
To clip your dog’s nails, lift his/her paw gently off the ground and bend it back in the natural direction of the ankle joint. Cup the paw gently in your hand and press down lightly on each singular paw pad to steady your grip and expose the nail a little further. With the other hand, take the nail clippers and clip the nail. Repeat these steps for each nail on all four paws. After you finish clipping the nails you can gently round out the sharp edges with a Pet Dremel if you’d like.
You can re-adjust your positioning as necessary. Do not feel like you need to rush, take as much time as you need. It’s better to go slow and be more accurate than swiftly and risk snipping your dog’s kwik.
Accidentally snipping their kwik could cause them to develop a fear of nail clipping, so slower is always better. However, should you accidentally clip too far and cause your dog’s nail to bleed, you can dab some Kwik stop or flour on the base of the nail. This stops the bleeding by clotting the exposed vein.
Note: some dogs have a very real aversion to nail clipping. If your dog exhibits any aggressive behavior or is just exceedingly difficult to keep still while attempting to clip his/her nails then it is advisable that you seek professional assistance from a groomer or vet.
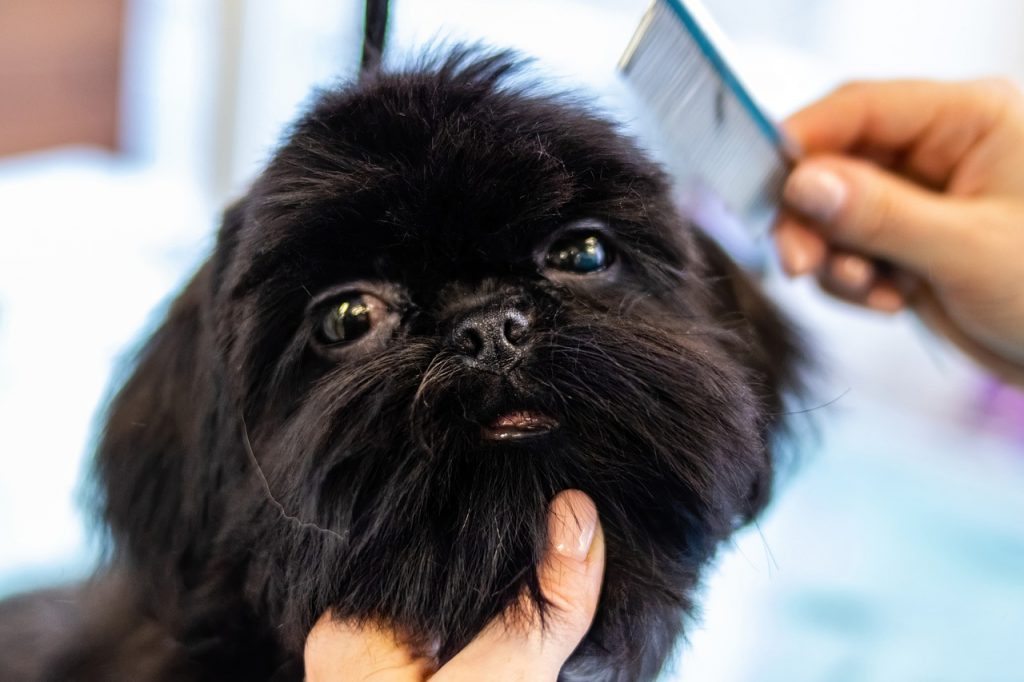
STEP THREE: EAR CLEANING/PLUCKING

Beginning from this point when learning how to groom your dog, you’ll want to make sure you’re working on an elevated surface or grooming table. To clean your dog’s ears you’ll need ear cleaning solution, q-tips (optional), and cotton balls. If your dog has long hair and grows hair from inside the ear you’ll need to use ear plucking powder to pluck it out.
If your dog does have ear hair you can pour a little bit of powder into the ear to cover the hair. Then, using your thumb and pointer finger gently tug on the hair that is growing up from the canal. The hair should come out easily. You should never have to pull too hard on pluckable ear hair.
If your dog does not have ear hair, skip the previous step and proceed to ready the cotton balls and ear cleaning solution. Take a cotton ball and pour some of the ear cleaning solution on the cotton ball to wet it. Then take the cotton ball and gently rub the inside of your dog’s ear to wipe away any dirt and debris that may have collected. Do not force the cotton too deep into the ear. If you notice any leftover dirt caught within the natural crevices and divots inside your dog’s ear then you can gently take a q-tip dabbed with ear cleaning solution to clean those hard-to-reach spots. Repeat the process for both ears.
STEP FOUR: BRUSH OUT
Brushing your dog before bathing is essential to rid the coat of any excess shed hair or undercoat. It is an essential component when you groom your dog. If your dog has long hair that you intend to keep long, brushing out the coat before the bath is absolutely imperative in order to ensure that the coat is completely knot and tangle-free. Do not bathe your dog if they have any knots or tangles in their coat because the bath will only cause the knots to get tighter. Soap can also become trapped in knots that have been left unbrushed.
For short-haired dogs: You’ll need a curry brush to groom your dog. Gently run the curry brush back and forth against your dog’s hair multiple times until you have covered your dog’s whole body. Extra time with the curry brush might be needed around the neck, upper back, and chest areas. These are usually the thickest areas of the coat and therefore will shed the most and will require the most brushing.
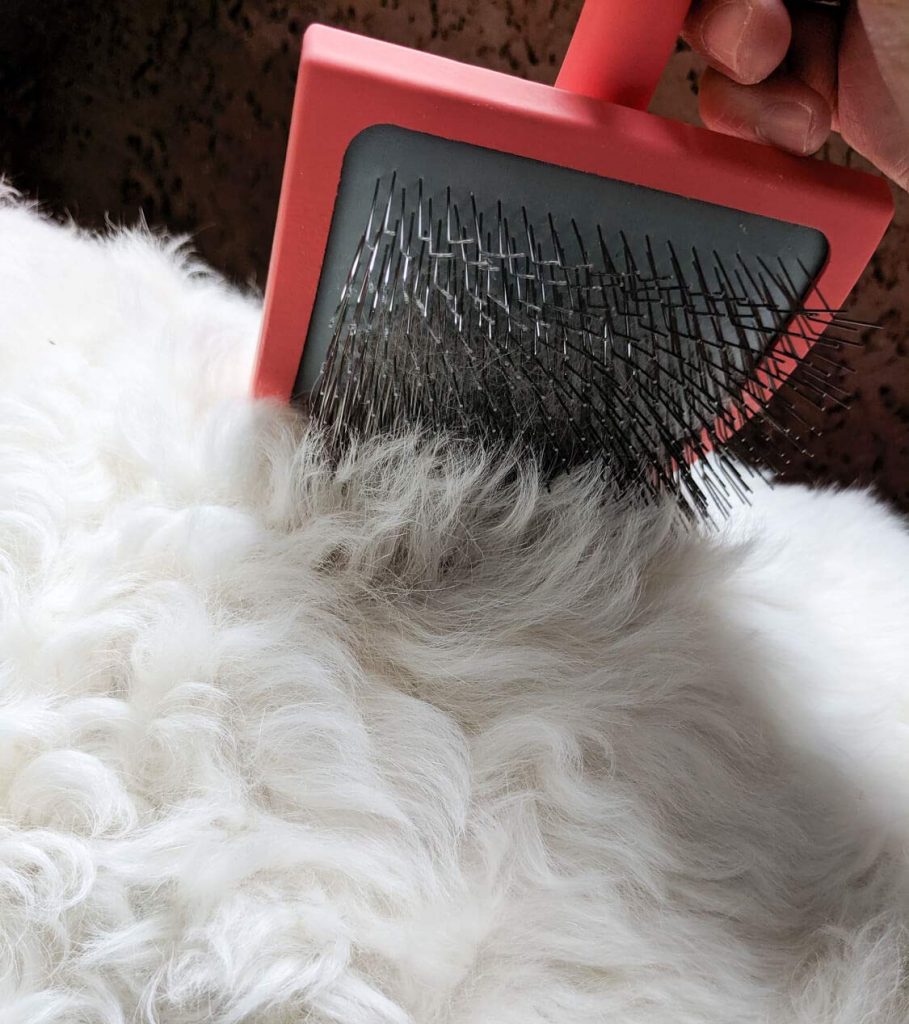
For double-coated dogs: You’ll need a slicker brush. And you’ll need a comb if your double-coated bread has furnishings on the legs, by the ears, and at the backend (ie: Golden Retrievers, Collies, Shetland Sheepdogs, Australian Shepherds, etc.). Use the slicker brush to brush out your dog’s coat thoroughly to remove any accumulated undercoat and shed hair (clear the brush of any accumulated fur as necessary). If your dog has furnishings, after brushing with the slicker, run the comb through the furnishings to ensure it is free of any knots or tangles.
Note: Double-coated dogs with furnishings easily get knots behind their ears. If this occurs you can carefully shave them out. This is the only time you should ever use a clipper on the main coat of a double-coated dog. Use a 10 blade attached to a clipper to gently free the tight knot from the skin.
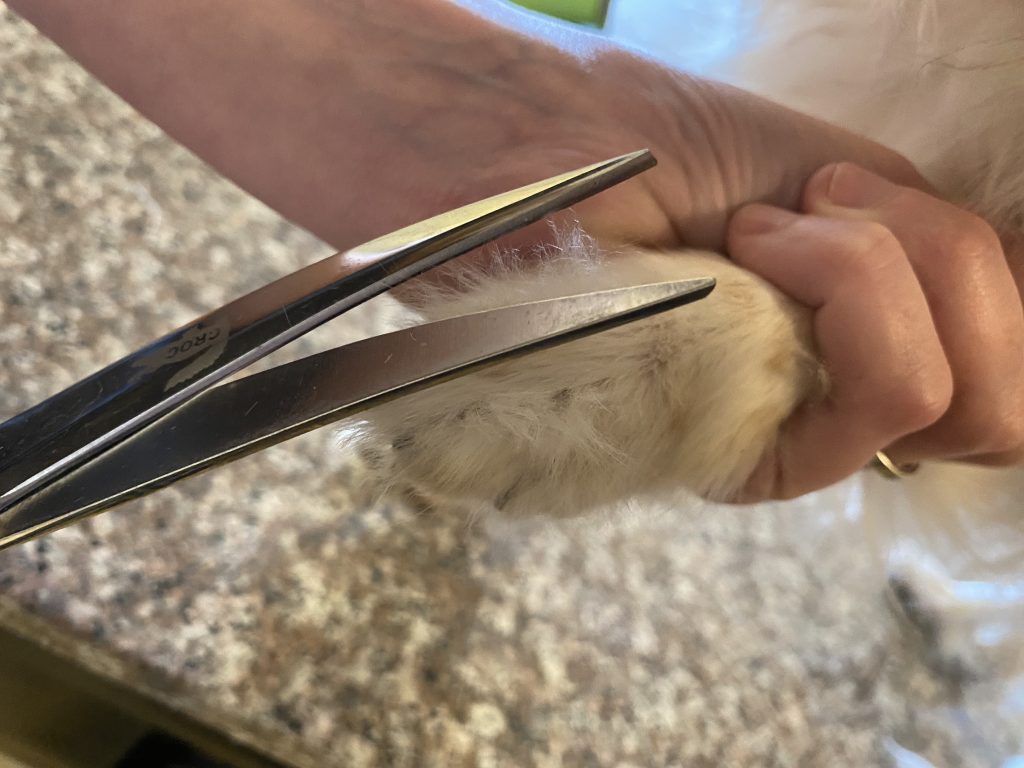
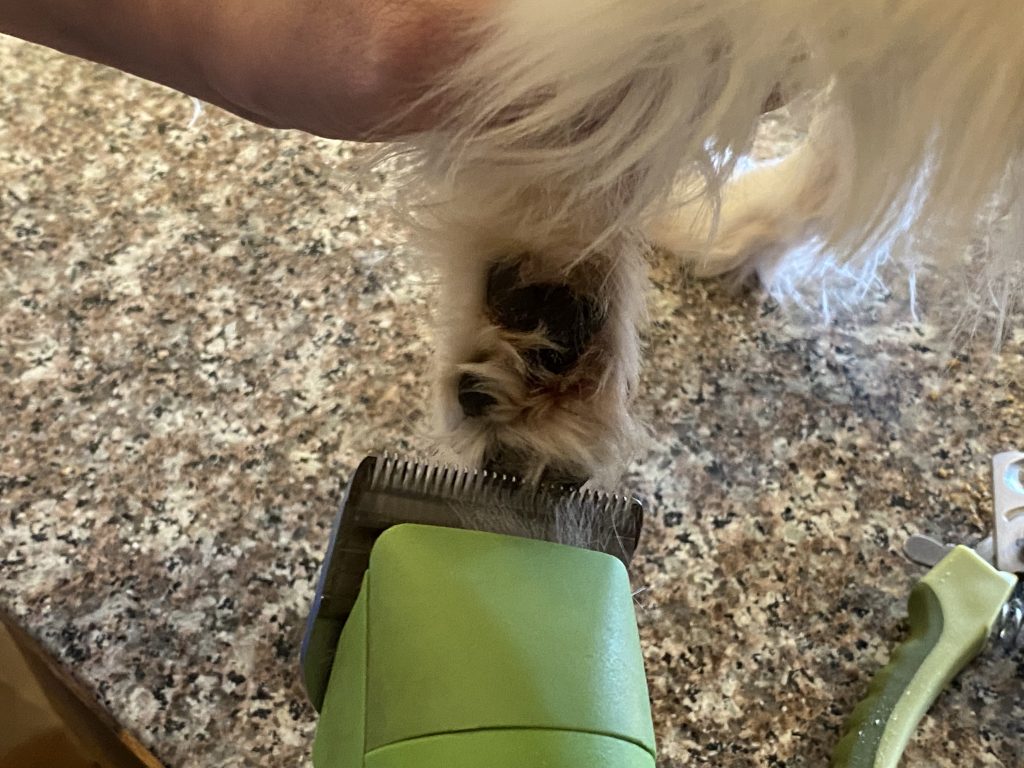
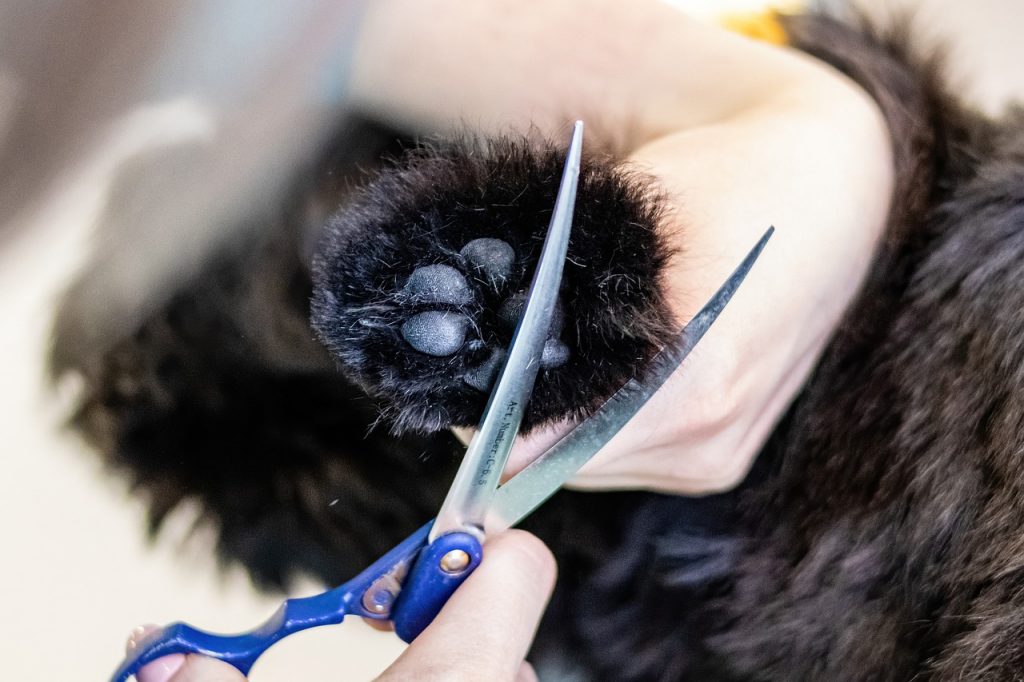
Also Note: Should your double-coated dog grow excess hair underneath his paw pads (groomers lovingly refer to this as grinch feet) You can also use a 10-blade on a clipper to shave away the excess hair. Gently go against the grain of the excess hair to clear the paw pad of it. You should cup your dog’s paw in your hand as you do this (similar to how you would position the foot for a nail trim).
For long-haired dogs: If you are intending to leave your long-haired dog’s coat long you’ll need to brush and comb the entire coat. First, use the slicker brush to free the coat of any little tangles or knots. Then run the comb all the way through to ensure no brushable knots or tangles were left unnoticed.
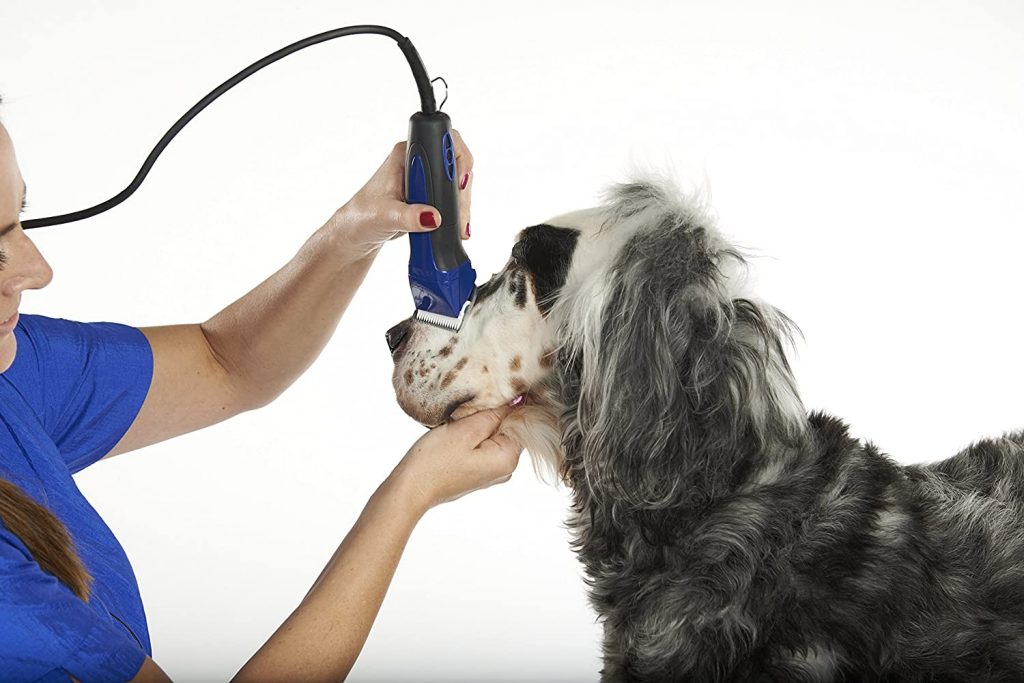
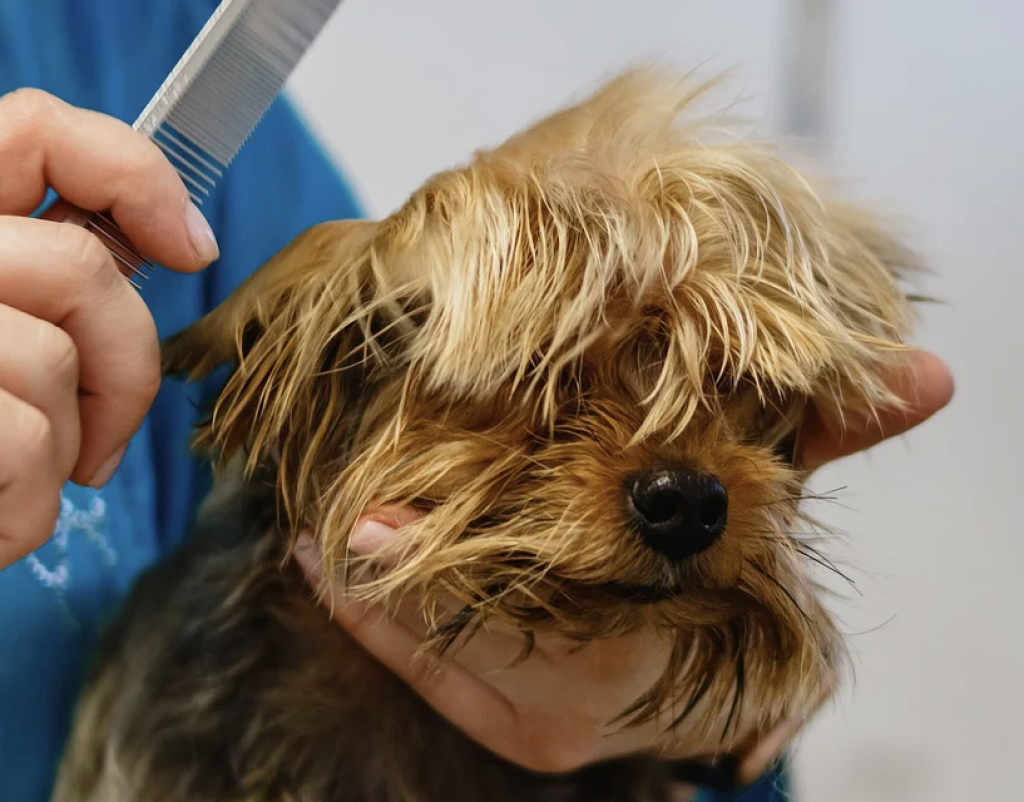
You can use a clipper with a ten-blade attachment to shave your dog’s paw pads (read above). You can also use a ten blade to clear the extra hair away from your dog’s eyes. To do this you can gently scoop the hair away from the dog’s eyes in one motion with the blade pointing towards you. If your dog is scared of the clipper near his face (many are) alternatively, you can use curved grooming shears to cut away the hair by the eyes.
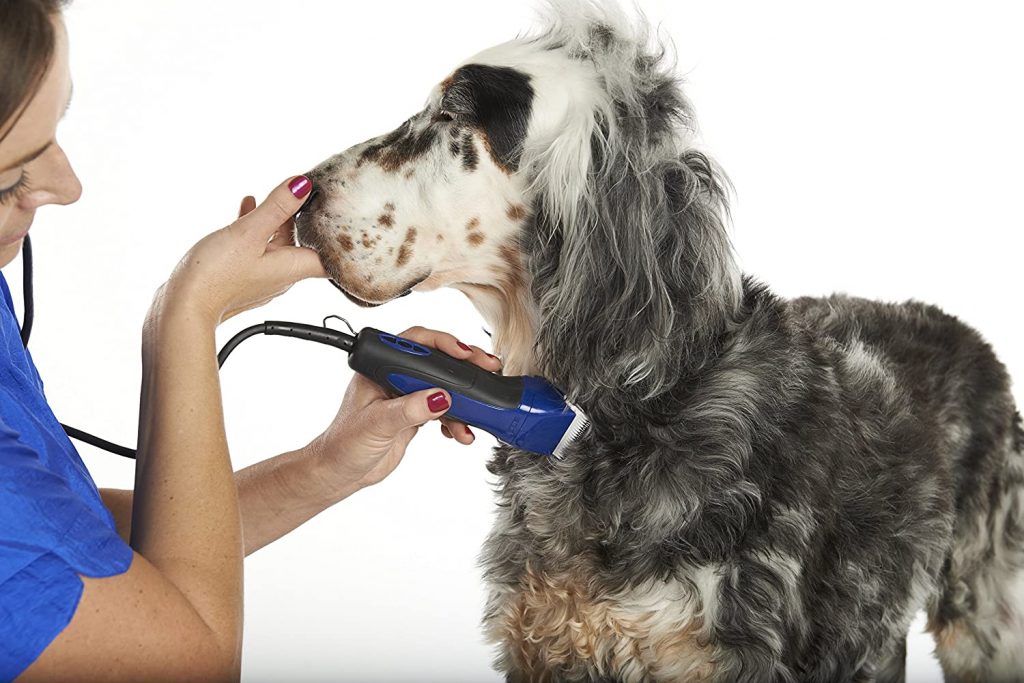
STEP FIVE: PRE-SHAVE (SKIP THIS STEP FOR SHORT-HAIRED AND DOUBLE-COATED DOGS)
If you have a long-haired dog that you’d like to give a haircut to, then pre-shaving your dog before giving it a bath is advantageous. First, it will prevent you from washing any hair that you’re going to shave off anyway. Secondly, it will cut down on the amount of time it will take your dog to dry. To perform a preshave you’ll need a clipper, clipper blades, and Kool Lube (Kool Lube ensures that the blades do not overheat and burn your dog).
Lengths and Blades: You’ll need a ten blade in order to shave your dog’s paw pads, sanitary, and the area underneath his/her eyes. Then you’ll need to determine how short you want to shave your dog’s coat. A 7-blade is recommended if you want your dog’s hair to be short and smooth. A 4-blade is recommended should you want to leave a little bit more length.
If you prefer to leave your dog’s coat even longer you can add an attachment comb atop a 30-blade. (I recommend an A-comb or 0-comb). You’ll also need an attachment comb to run over the top and side of your dog’s head. Do not use a blade on your dog’s head or face, other than the 10-blade by the eyes. To trim down your dog’s head use a 1-comb (if you used a 7-blade on the body) or a 0-comb (if you used a 4-blade on the body).
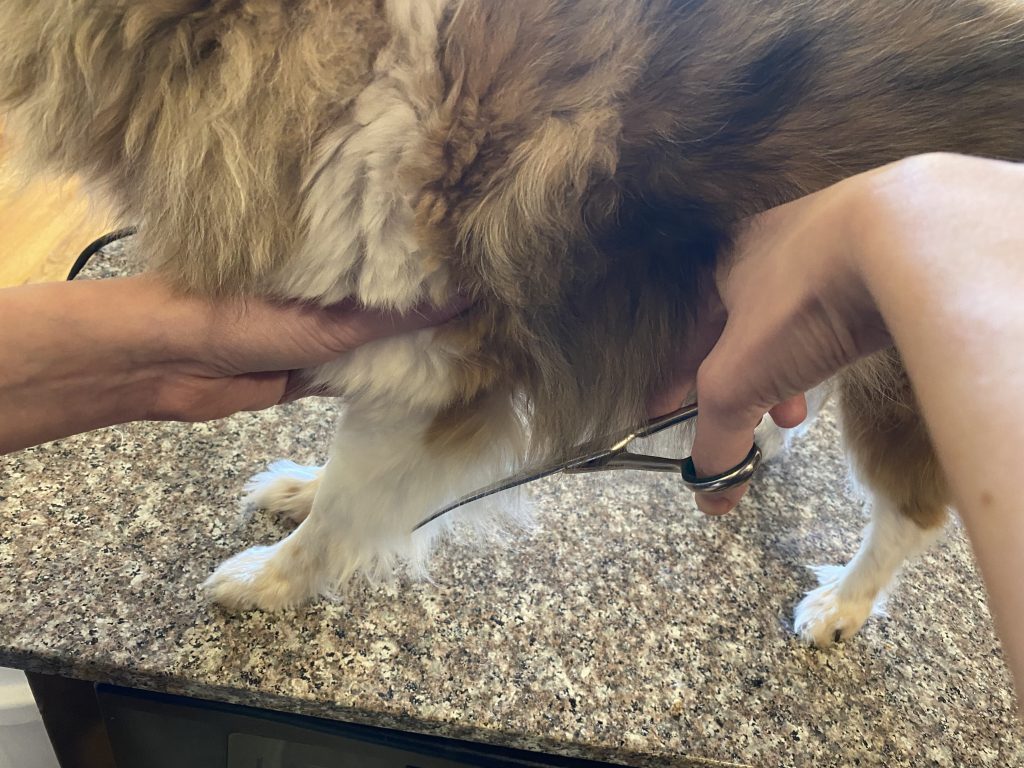
The Shave: Beginning from the occiput, groom your dog by shaving your dog’s hair going in the natural direction of the grain. Take special care when you reach the hock and be sure to check for dewclaws when shaving down the legs. Use a 10-blade to gently shave your dog’s sanitary areas.
Do Not shave directly over your dog’s anus in the backend. Also do not shave directly over your dog’s penis opening or nipples in the underbelly. Do not shave the tail! Also, be sure to check the blades frequently to see if they are hot. If they are spray with Kool Lub until cool and wipe any excess liquid before continuing to shave your dog.
Note: The pre-shave does not have to be perfect, it’s just important to get the bulk of the hair off. You’ll perfect the cut in the last step.
Also Note: Clean the used blades after the pre-shave. You don’t want to use dirty blades on clean hair. Follow the instructions included on the blade cleaner’s bottle to do this.
STEP SIX: BATHE
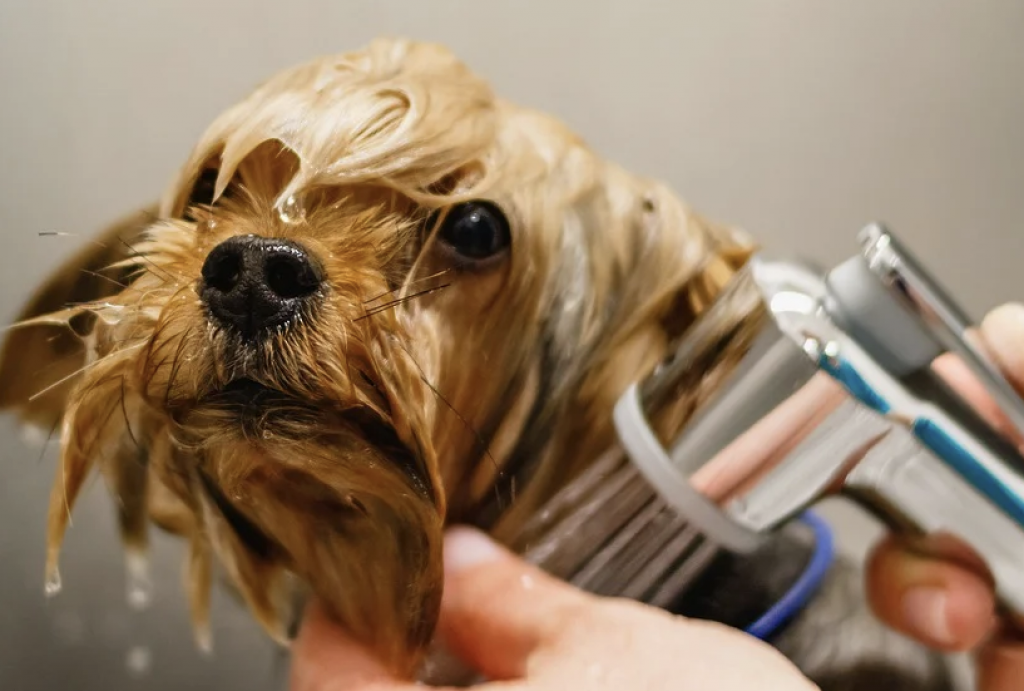
Gather the dog shampoo/dawn dish soap and conditioner (optional). Using lukewarm water gently rinse your dog to thoroughly wet his/her coat. Take care not to get any water in your dog’s ears. This can cause an ear infection to develop. Pour a generous amount of shampoo onto your dog’s wet coat and lather thoroughly until you have scrubbed your dog’s whole body. Avoid getting any shampoo/soap in your dog’s eyes. This can cause irritation. If you are using conditioner you do not have to rinse your dog’s coat, simply apply it atop the shampoo when you are done lathering and give your dog another thorough scrub.
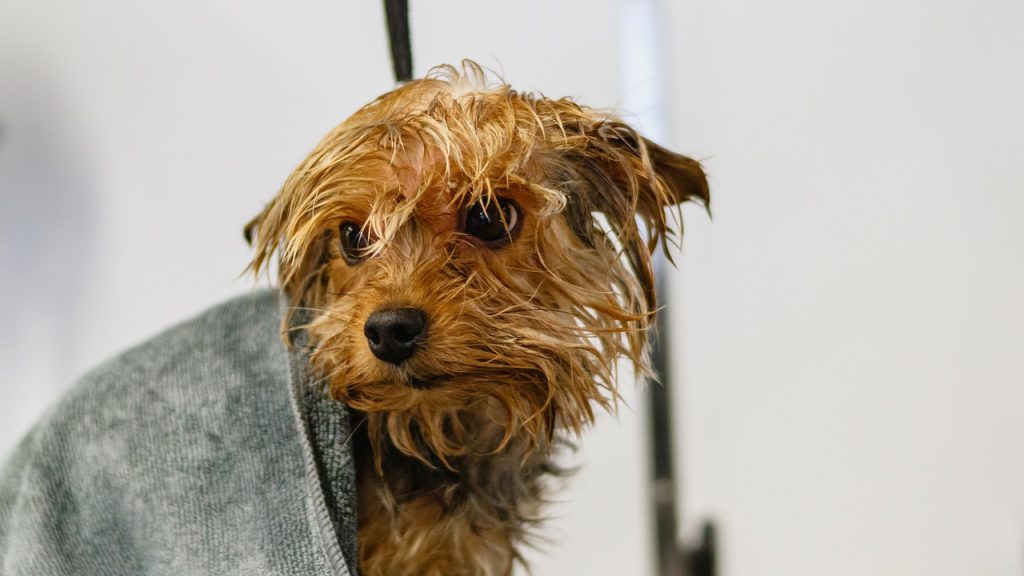
Then thoroughly rinse your dog. When your dog is sufficiently rinsed, use a towel to remove your dog from the sink/bathtub and pat dry to remove as much excess water as you can. You’ll likely need a few towels to do this successfully. Afterward, you can let your dog shake. This is an innate response and will also help to expel any excess water. Pat dry once more.
Note: If your dog has very short hair you can let them air dry from this point. (Ie. Breeds like Pit Bull Terriers and Boston Terriers tend to dry exceedingly quickly because of how short their hair is). For super-short-haired dogs, the grooming process is now complete! Congrats!
STEP SEVEN: DRY
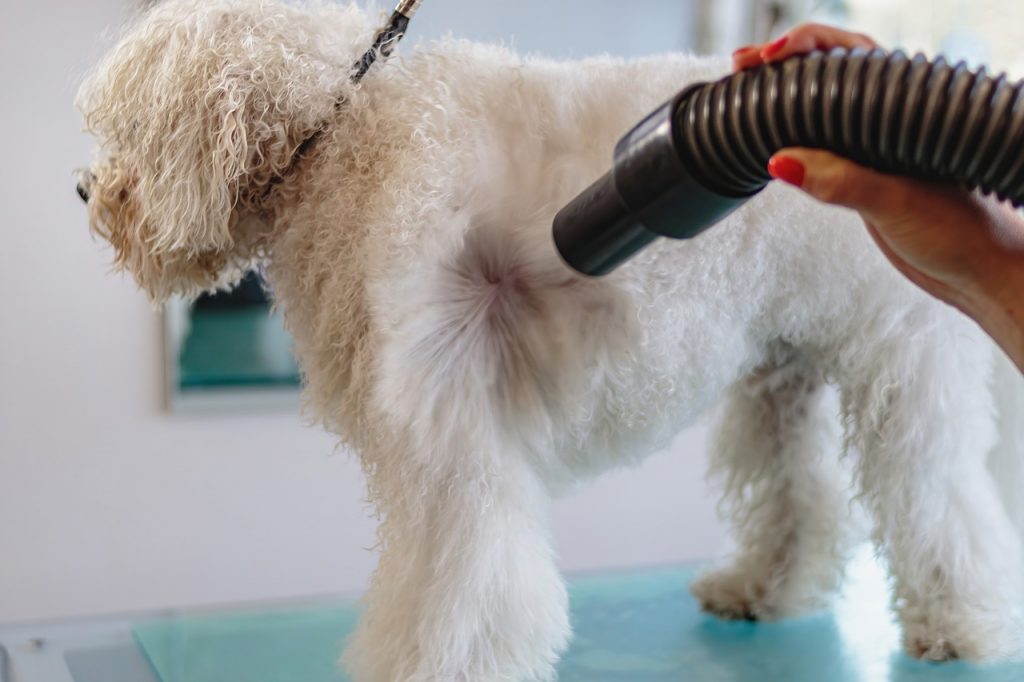
After you’ve towel-dried your dog you can plug in the dryer that you’ll be using and move your dog back to the surface you’ve been working on. Do not use the heating element on a dryer. This can burn your dog’s skin. Gently blow-dry your dog using your dryer of choice. Once dry, for short-haired dogs and double-coated dogs with a shorter topcoat (i.e Siberian Huskies), the grooming process is now complete! Congrats!
Note: If you are giving your dog a haircut, you can not finish the cut until your dog’s coat is completely dry. This is also the case if you intend to give your dog’s coat one last brushing.
STEP EIGHT: FINISHING CUT (LONG-HAIRED AND DOUBLE-COATED DOGS WITH LONGER TOPCOATS ONLY)
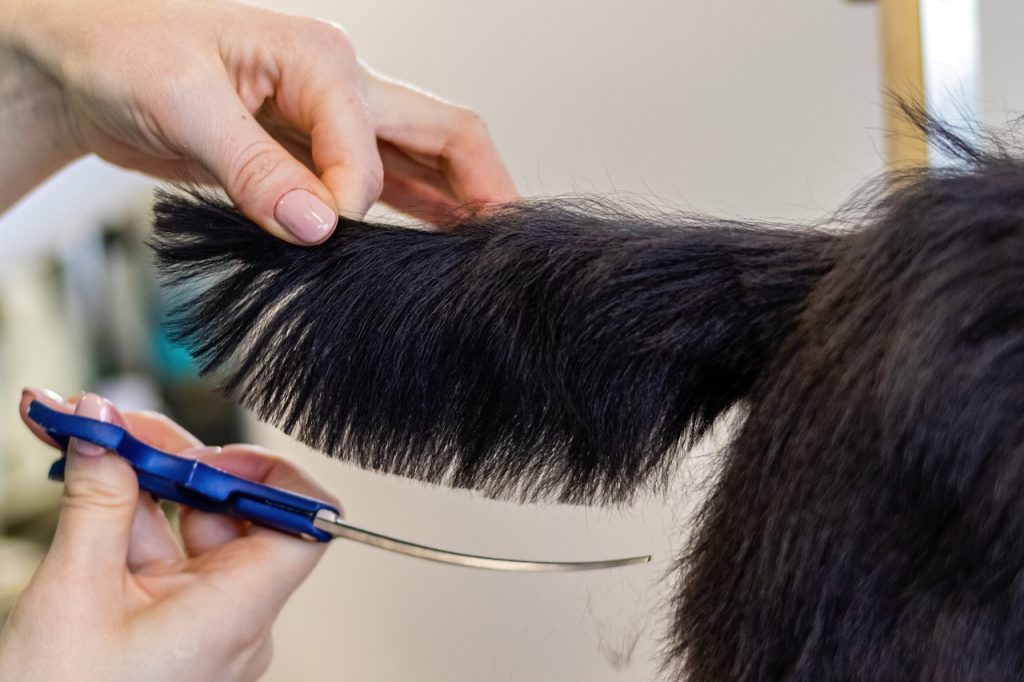
Long-haired dogs: You’ve made it to the last step! Gather the blade you used for the pre-shave as well as curved grooming shears. For the finishing cut, run your blade (comb attachment) of choice over your dog’s coat to even out and smooth the hair. When it is to your liking, then use curved grooming shears and cut any stray hairs around your dog’s paws. You can also comb out the tail and trim the length on the bottom. Always stay cognizant of where the tip of your dog’s tail is and never cut too close.
After the body is done, you can run the attachment comb over your dog’s head. First, comb the hair on the top of your dog’s head forward. Run the attachment comb, going with the grain, over the top of your dog’s head. Then run the comb down each side. Then run the attachment comb, going against the grain, underneath your dog’s chin.
Once you’ve run the attachment comb over your dog’s head to trim it, you can proceed to neaten and trim the hair around his/her face with grooming shears. First, comb the hair atop your dog’s head forward again. Then take your curved shears and scissor the excess hair over the eyes that you combed forward. Then comb the hair on the sides of your dog’s head downward. Then trim the hair at the base of each side. Take care not to scissor the sides too short.
Comb out your dog’s ears and trim the uneven hair at the ends. Make sure you do not get too close to the actual ear. If you cut your dog’s ear it will require medical attention. Congrats! You have successfully groomed your long-haired dog!
Double-coated dogs with a longer topcoat and furnishings: Brush your dog’s coat out once more with a slicker brush. Then take the comb and brush out the furnishings. Using your straight or curved sheers, carefully trim the leg furnishings. Repeat with the backend. Then brush out and trim your dog’s tail, being careful not to trim it too short. You can also scissor any excess fur around the feet with your curved shears.
To reach hair between the toes, using your slicker brush, brush in an upward motion going against the grain of the hair. Trim the excess hair that you brushed up. Congratulations! You have successfully groomed your double-coated dog!